SolidWorks Design: Mechanical Arm Prosthetic
During my last summer of college, I decided to complete a course for my specialization in Structural and Mechanical Materials. This Computer-Aided Design course developed my skills for interpreting and presenting mechanical design drawings and the use of CAD in engineering design using SolidWorks. I'm able to present an integrated approach to drafting based on sketching, manual drawing, and three-dimensional CAD techniques.
Within the first part of the course, I improved my capability in geometric dimensioning and tolerancing (GD&T), forming, labeling, and using different views for engineering drawings, and modeling parts based on engineering drawings.
Assignment 1: GD&T
Assignment 2: Make a Part from a Drawing
Assignment 3: Replicate Part & Make Drawing
Assignment 4: Make Parts from a Drawing
Assignment 5: Replicate Part & Make Drawing
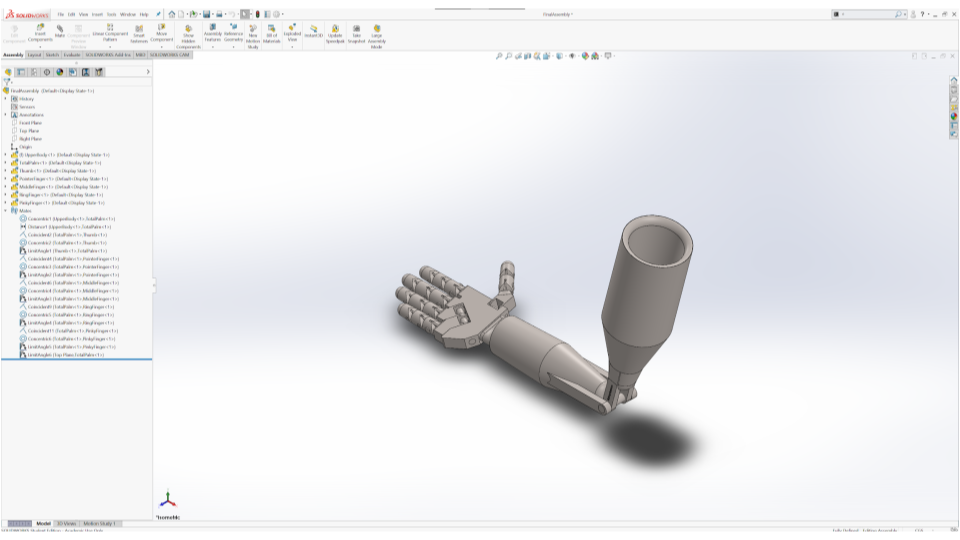
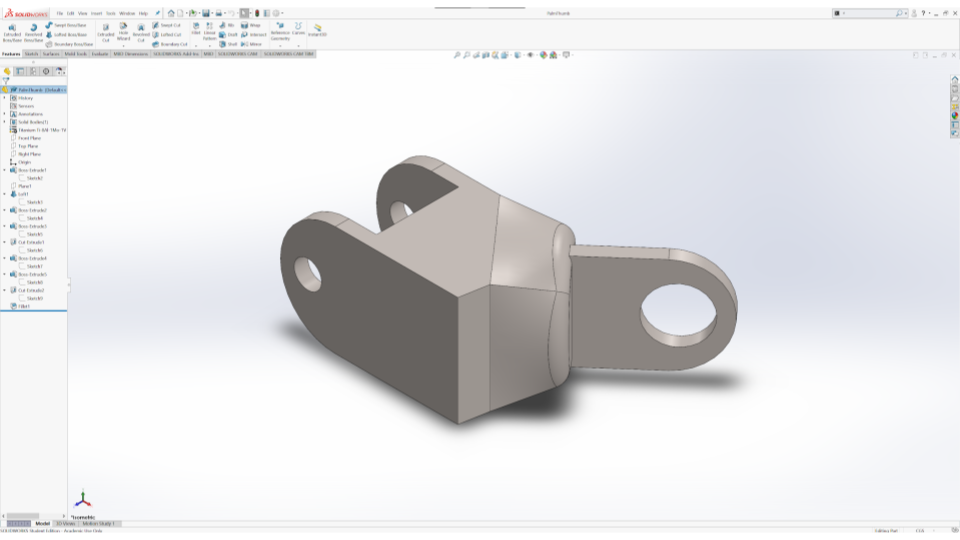
At the end of the summer quarter, I was tasked to create a full 3D model from scratch of anything. Thinking about my interests, I thought it would be a great challenge if I redesigned my previous project of an external elbow fixator and increase the complexity. After researching possible options, I had discovered bionic prosthetic arms and was really interested in this, particularly from Open Bionics and reading about the bionic man. I proposed this concept to my professor and then started to outline and sketch my design based on my hand and arm dimensions.
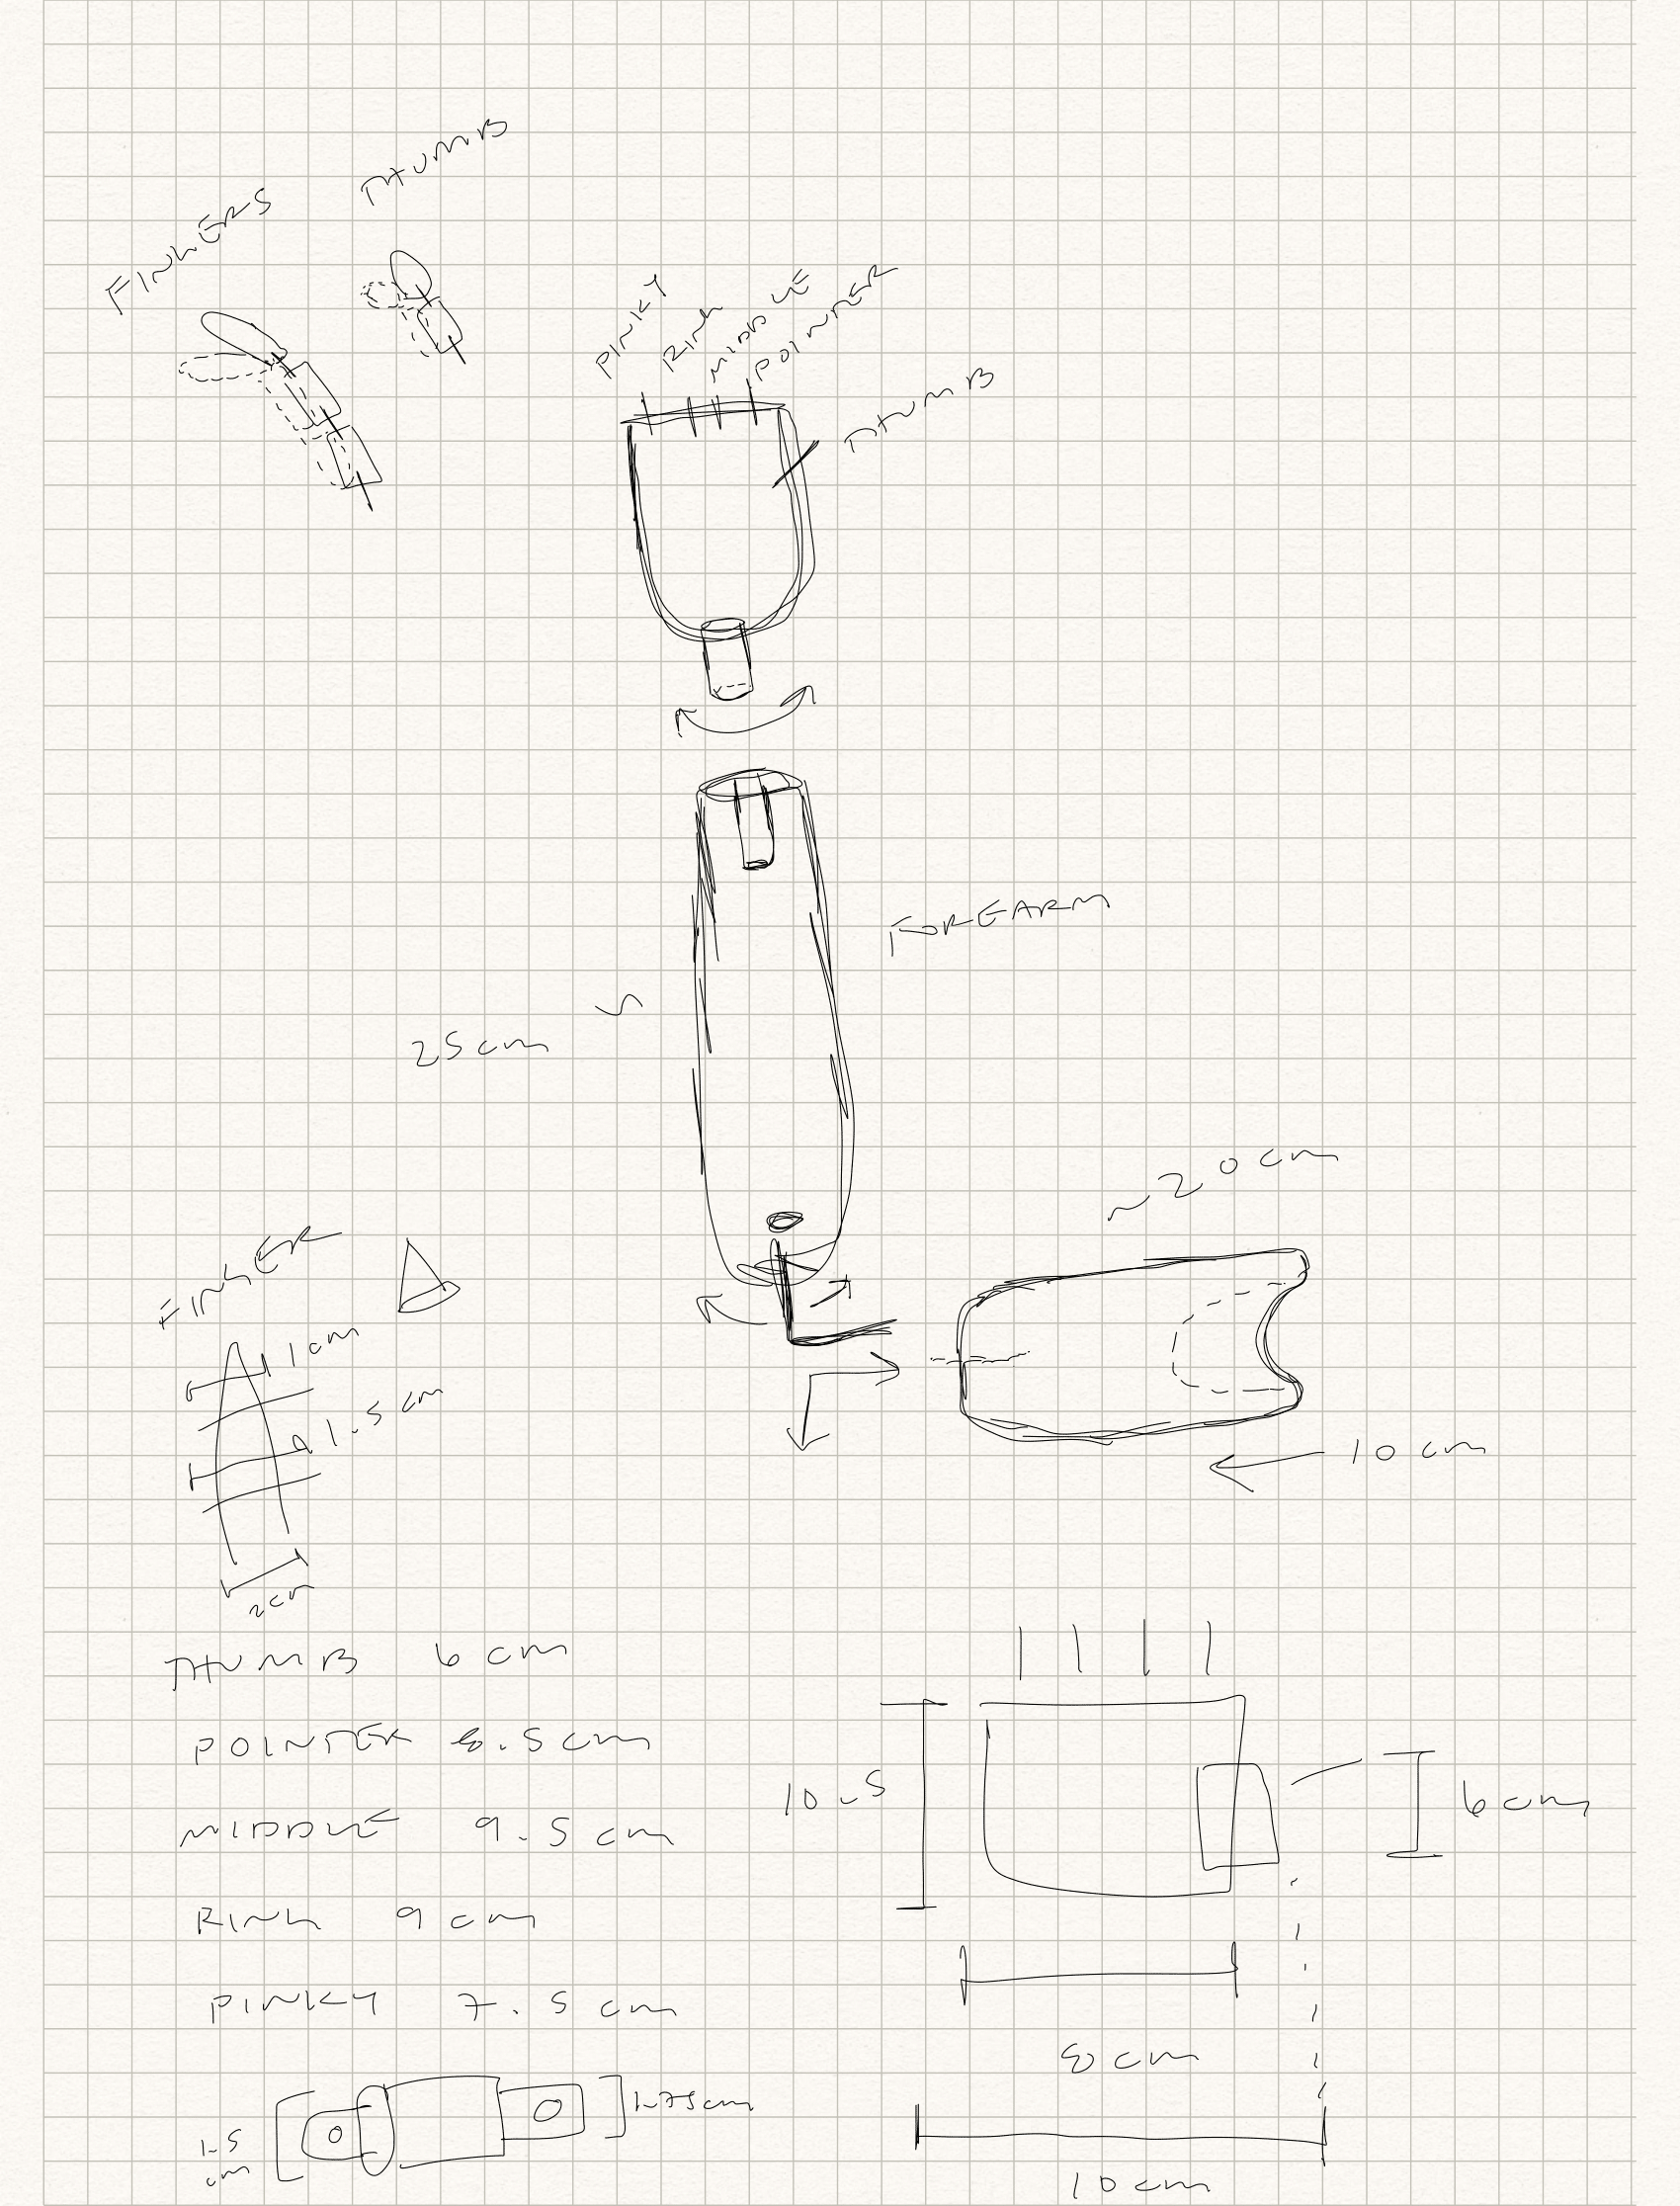
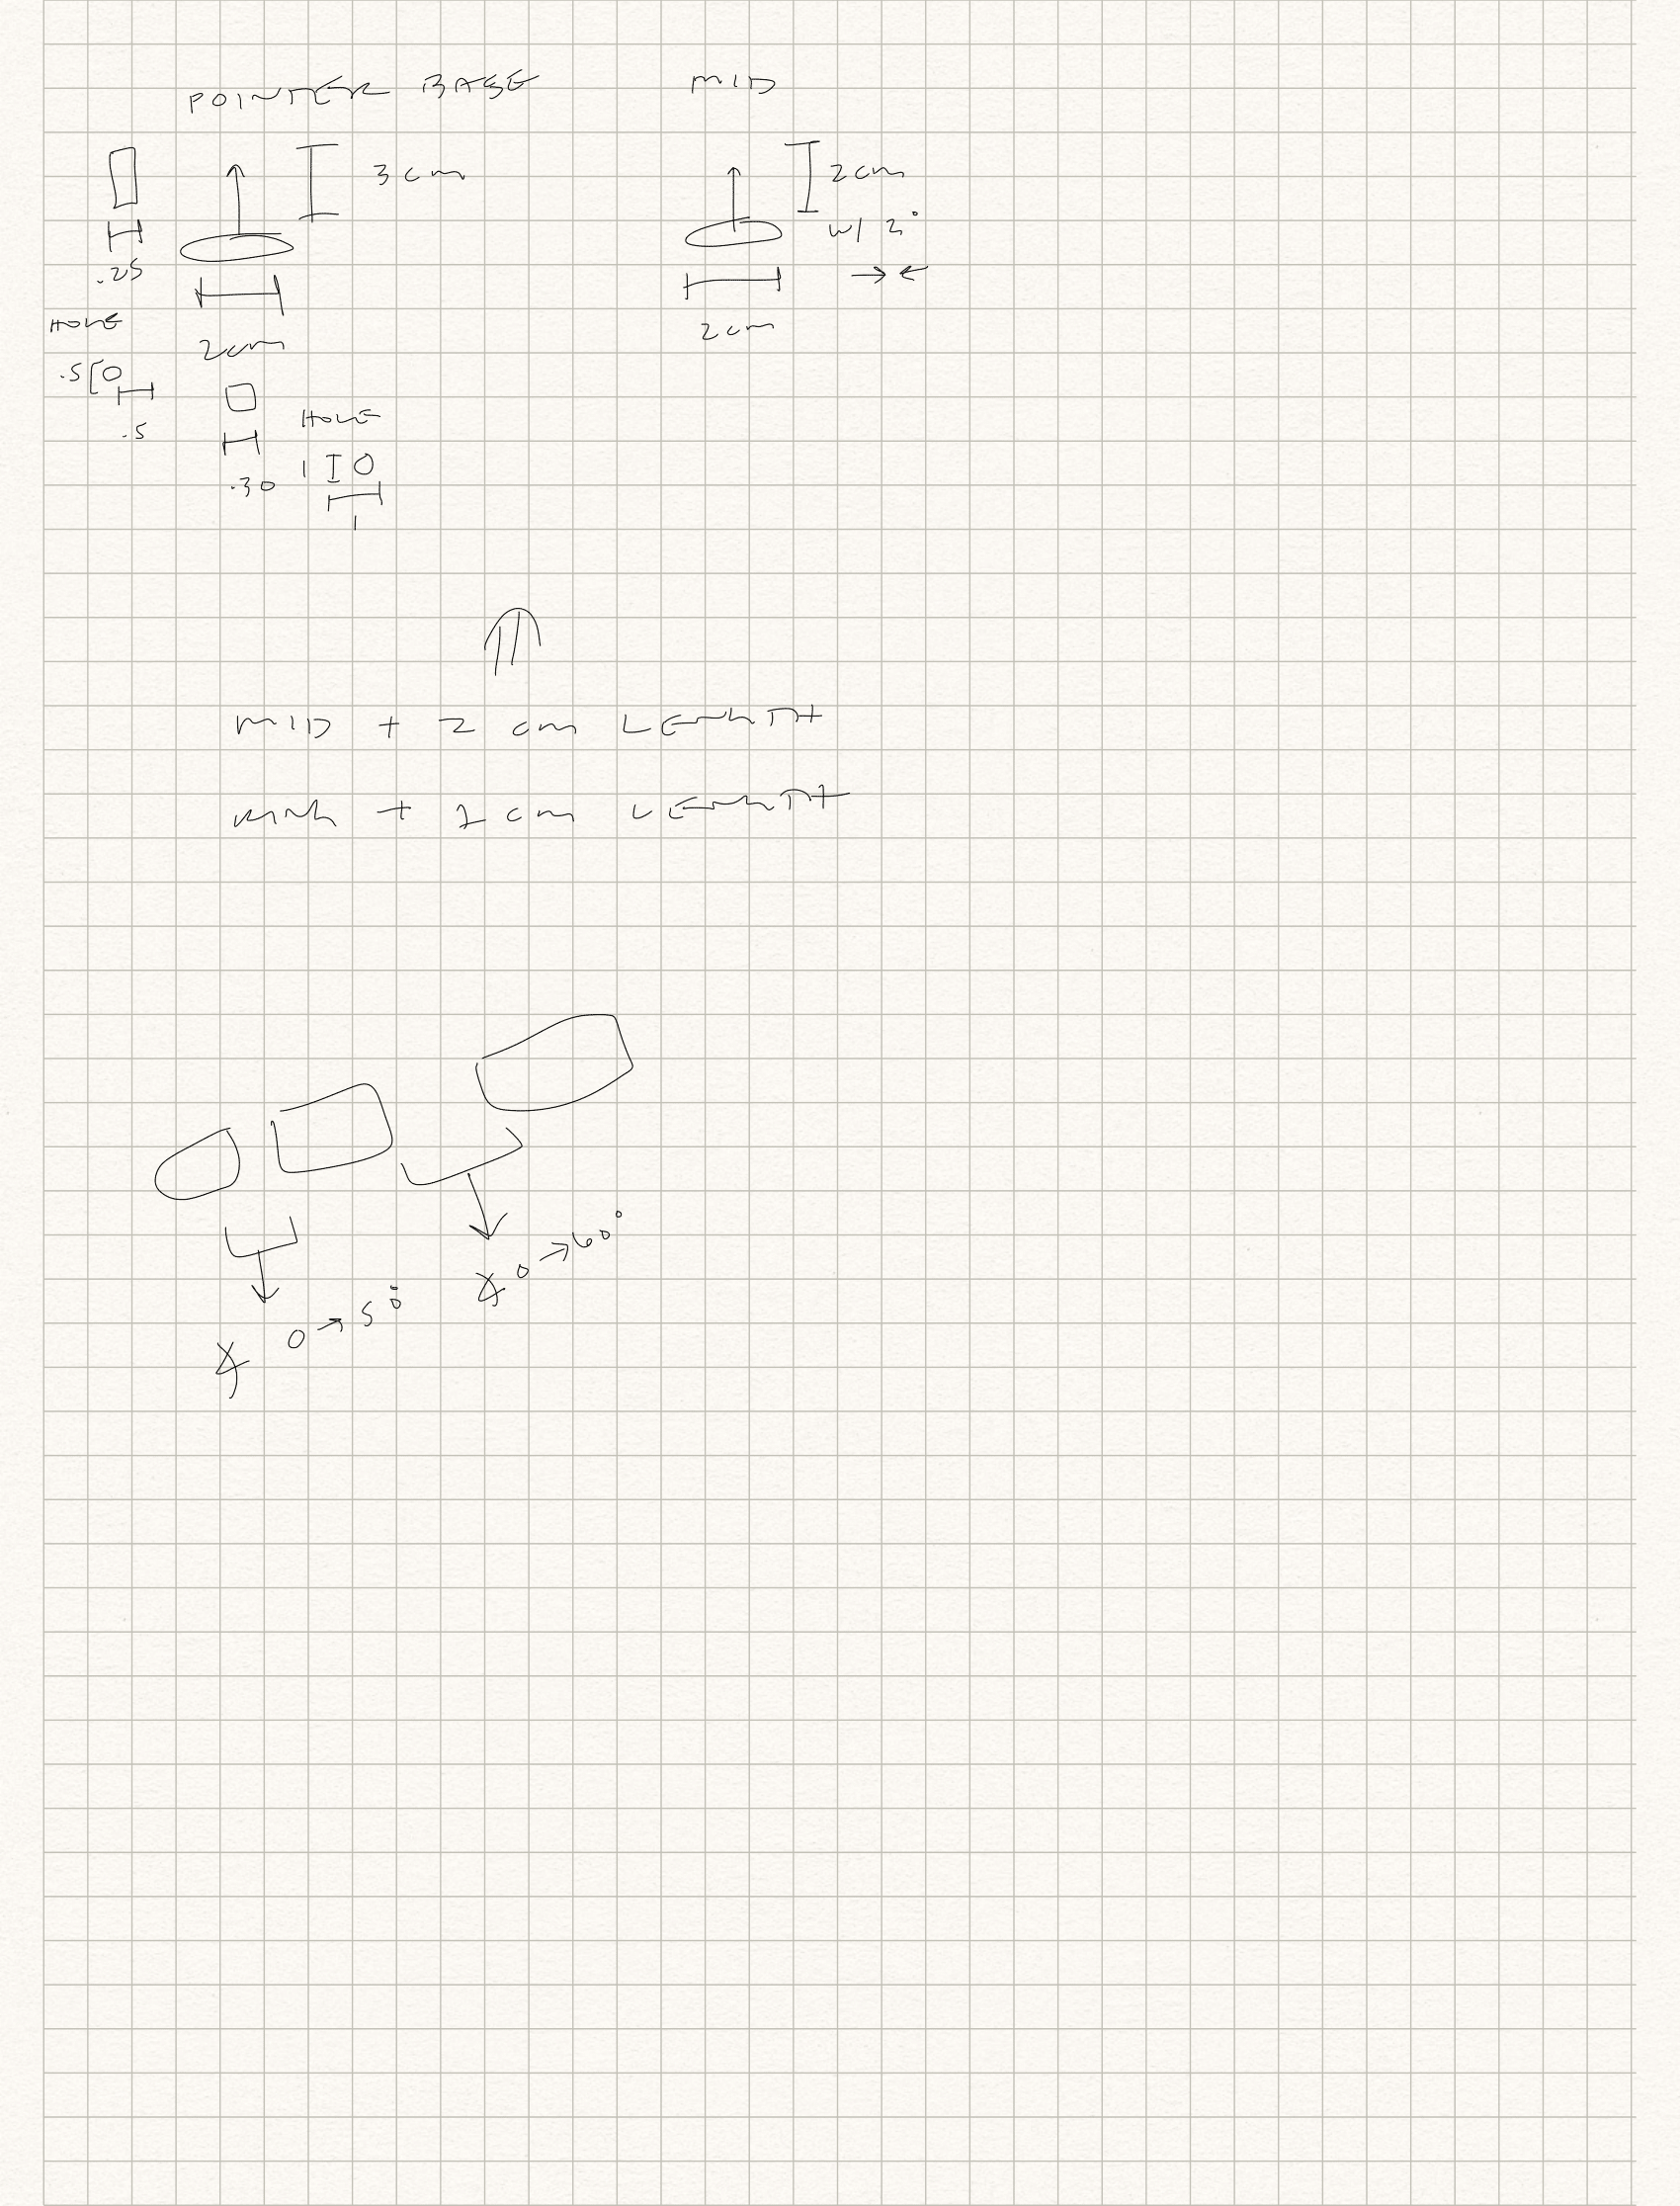
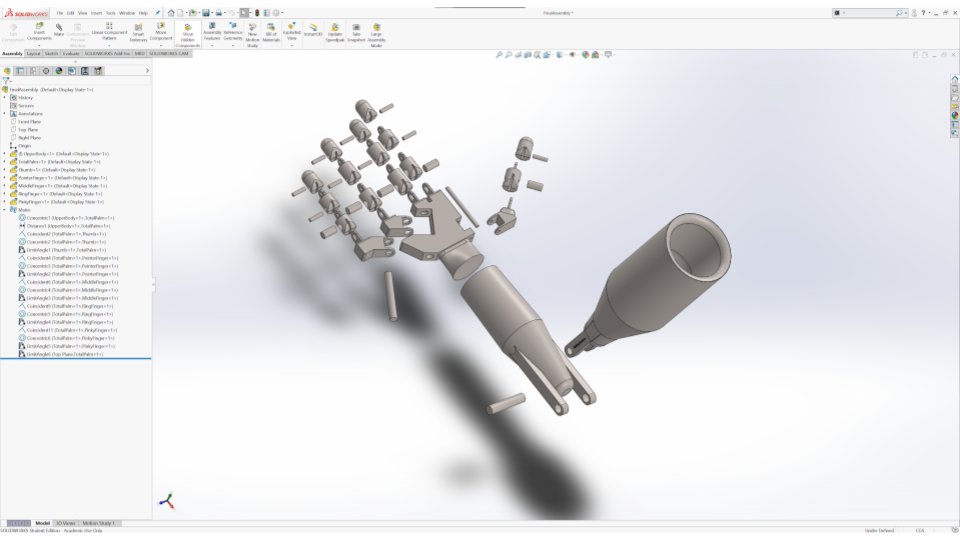
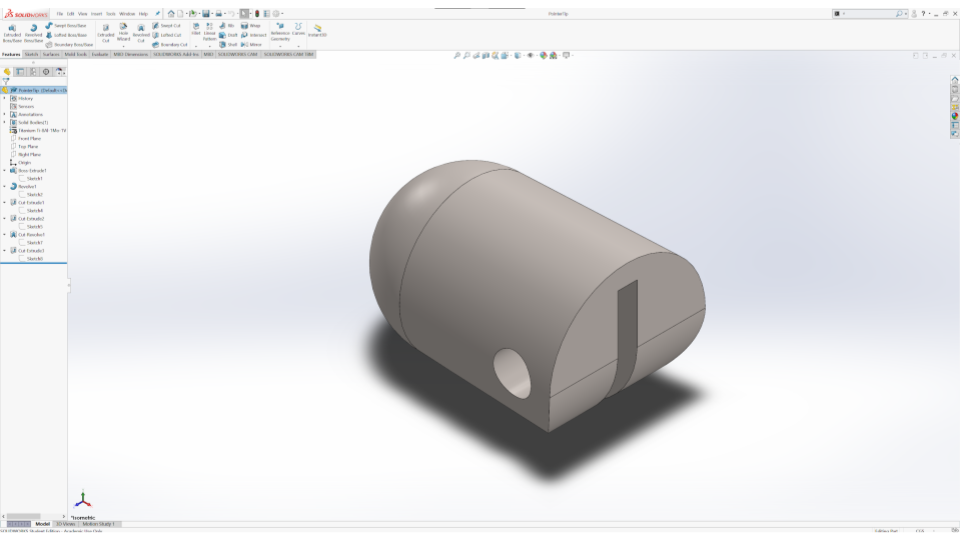
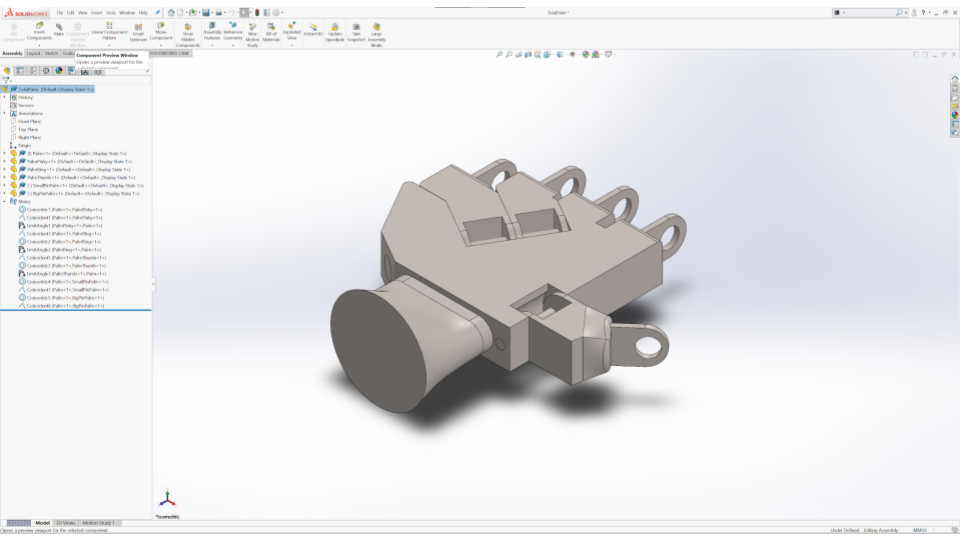
After my professor’s approval with the recommendation to watch out for my deadline, I started to map out my concept in SolidWorks. I knew that I wanted to schedule my time to get a rough model of each part to then put into an assembly because this allows me to fix any mistakes in dimensioning based on my real hand. It also lets me see how each individual part works with both subassemblies and the entire assembly.
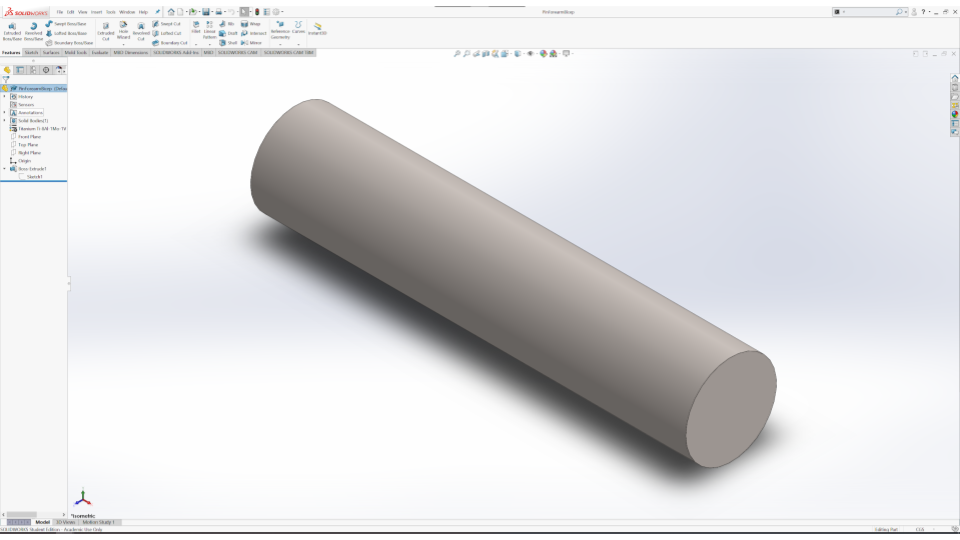
Because I had multiple small parts from each finger, I made the overall design similar by repeating the same sketch but at the respective dimensions. This was especially helpful for the rods that connected each part in the subassemblies.

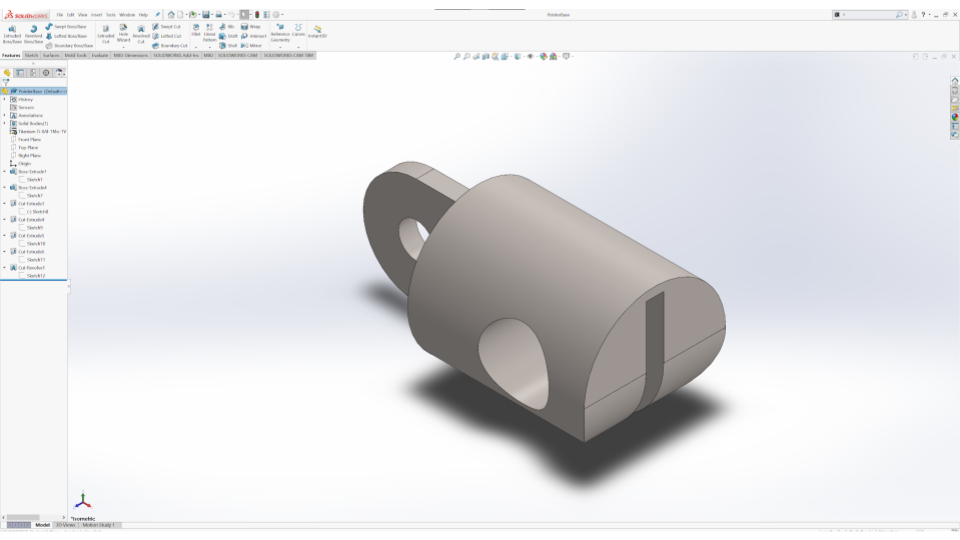

I used this idea again for the moving components on the palm for the pinky finger, ring finger, and thumb.

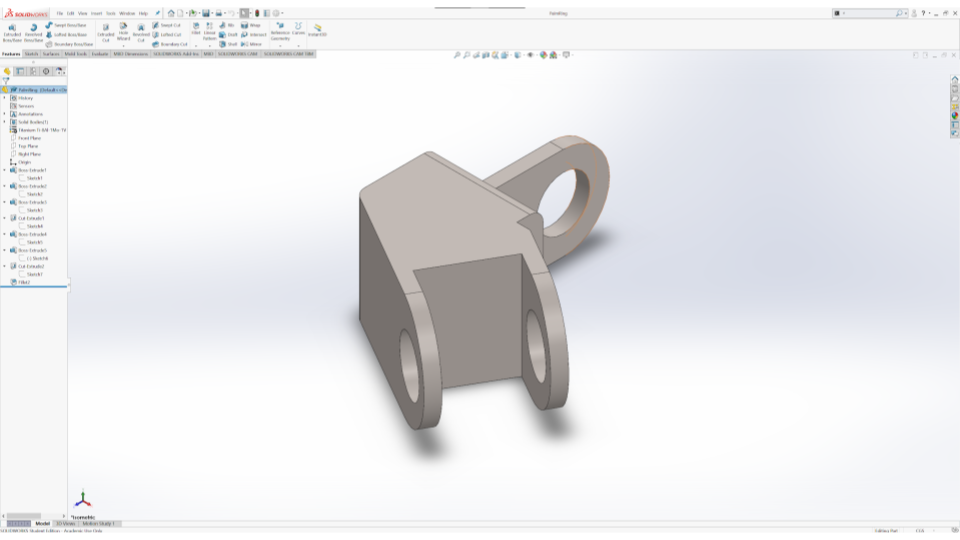

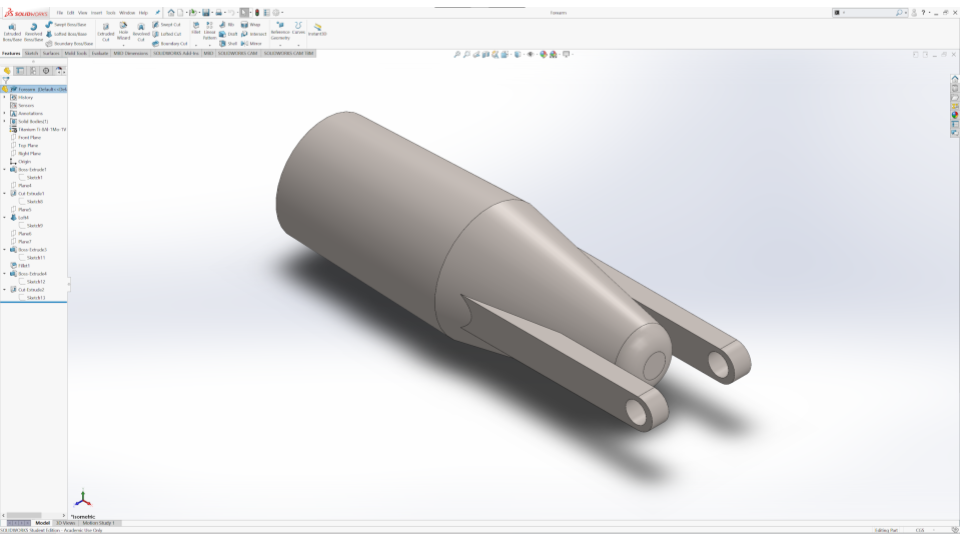
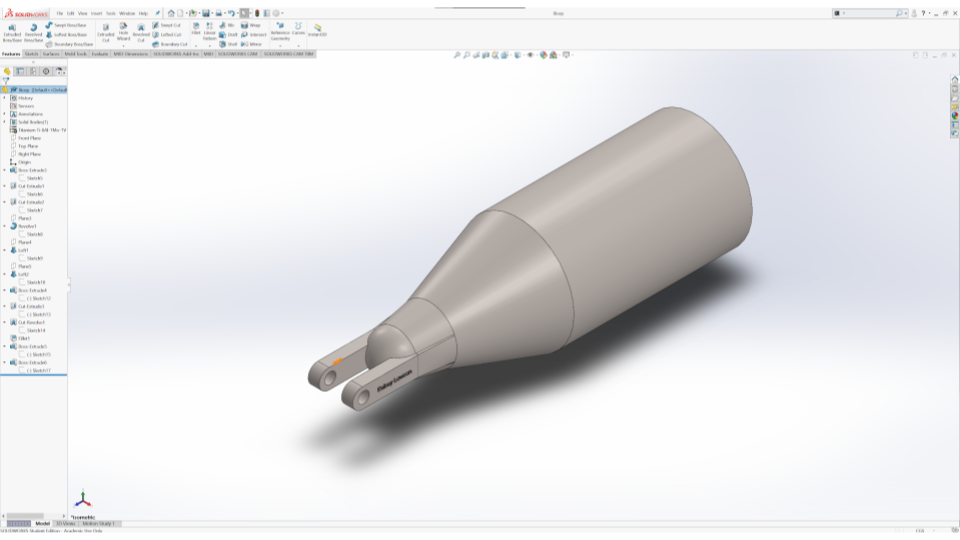
After finishing up the smaller parts, I could start to form the forearm and bicep. I wanted to make sure that both the wrist and elbow could rotate. I also measured my upper arm to sculpt out where a patient would put the prosthetic on.
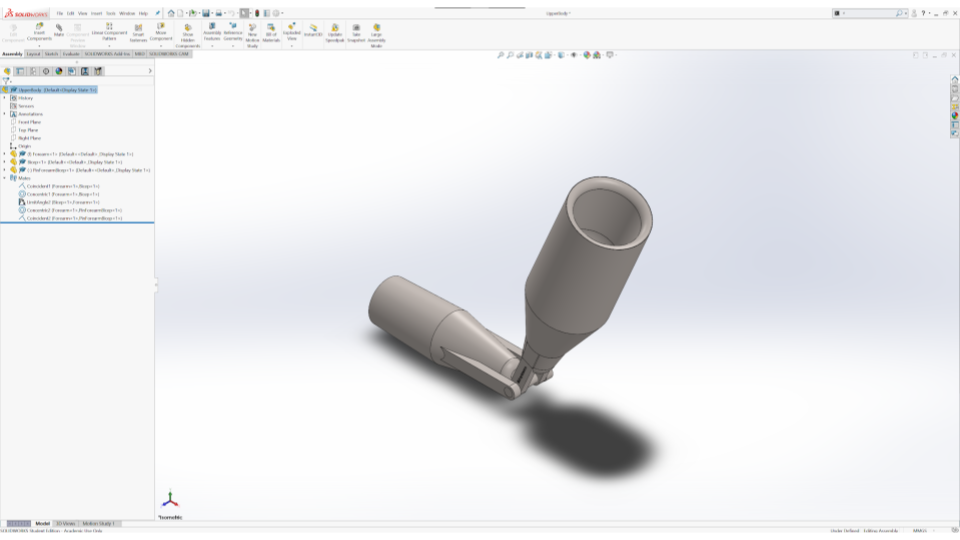
Finally, I assembled each part and added corresponding mates.